
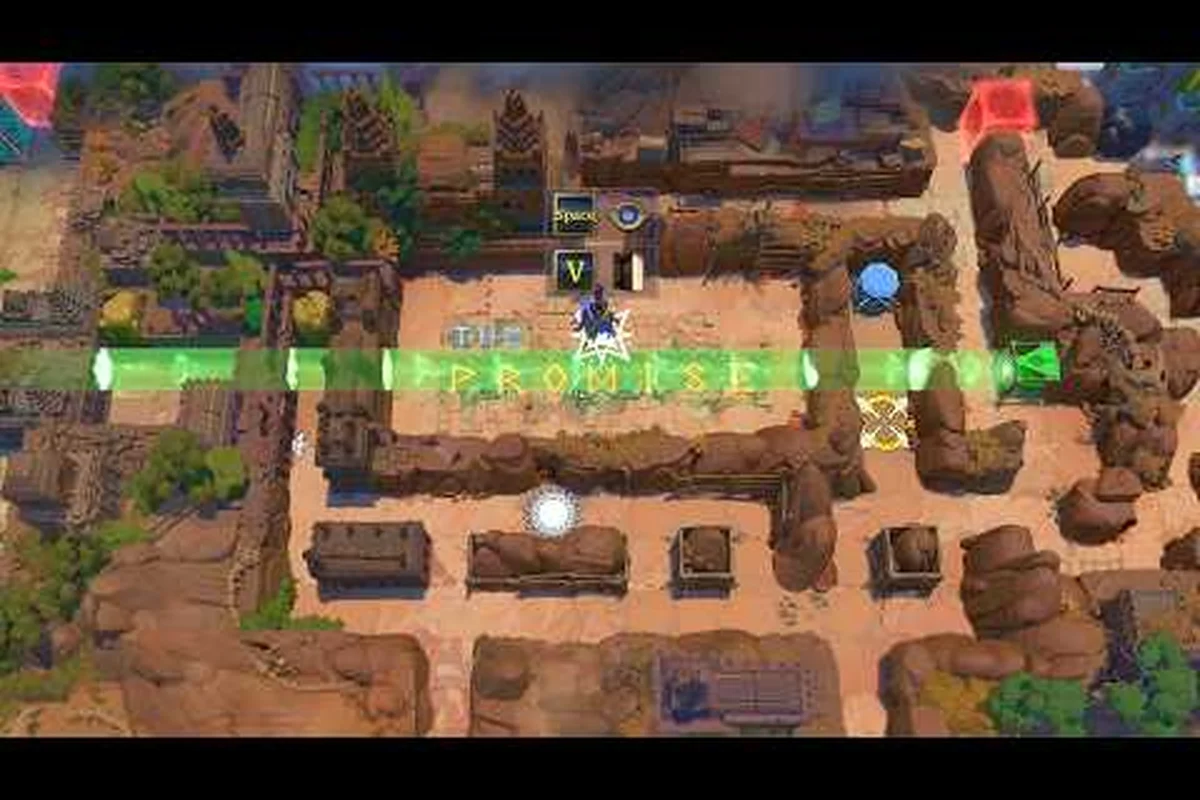
Grid puzzles are the heart of Order of the Sinking Star, demanding spatial reasoning and logical deduction. Whether you are facing a mirror puzzle in Mirror Isles, a gem puzzle that bends reality, or a beam puzzle that forces you to split light across the board, understanding the underlying mechanics is the difference between frustration and the satisfying “aha” moment. This guide provides step-by-step solutions and strategies for each of these grid-based challenges, helping you progress through even the trickiest sections without relying on external hints. Master the mirror, gem, and beam puzzles and unlock new worlds faster.
Mastering Mirror Isles Grid Puzzles in Order of the Sinking Star
Mirror puzzles in Order of the Sinking Star introduce a deceptively simple rule: when you push a character into a mirror tile, they swap positions with their reflection. What starts as a straightforward mechanic quickly escalates into multi-step conundrums where you must manage multiple clones that all move simultaneously. According to community data, the Mirror Isles section accounts for roughly 25% of the total puzzle count in the full game.
The fundamental mirror puzzle solution relies on understanding clone synchronization. Each mirror tile creates an exact copy of the character that moves in the opposite direction. If you push the original north, the clone moves south. This mirrors applies to all actions, including pushing blocks and activating switches.
| Mirror Puzzle Mechanic | Behavior | Key Insight |
|---|---|---|
| Single mirror | Swaps character with reflection | Use to reach isolated switches |
| Multiple mirrors | Creates chain of clones | Each clone inherits the movement but mirrored |
| Diagonal mirrors | Reflects across diagonal axis | Rare but appears in advanced solitaire rooms |
| Mirror chain ending | Clones persist until reset | Plan each step to avoid blocking |
Approaching Mirror Puzzles Step by Step
Step 1 – Identify the mirror layout. Look for square tiles with a faint blue shimmer. Those are mirror tiles. They are often arranged in corridors or at intersections. Walkthrough data from the demo shows that the first few mirror puzzles are single-tile affairs, teaching you the core swap. Later puzzles have two or three mirrors in sequence.
Step 2 – Plan the clone path. Before moving the original character, mentally trace where each clone will end up. Because clones move in the opposite direction, they can inadvertently push a block out of alignment or trigger a pressure plate at the wrong time. The Order of the Sinking Star mirror puzzle solution often involves moving the original just one tile and then evaluating the new clone positions.
Step 3 – Use reset points wisely. Each world includes a reset lever that restores the puzzle to its initial state. If you get tangled in a clone cascade, pulling the lever is faster than backtracking. Many players recommend using the reset lever after every two moves during chain-mirror puzzles to avoid confusion.
The Hall of Reflections – A Case Study
One of the most notorious mirror puzzles is the Hall of Reflections in the demo. It features four mirrors arranged in a plus sign, with two pressure plates in the corners. The order of the sinking star mirror puzzle solution here is: push the original character north into the first mirror, then immediately push the clone east into the second mirror, allowing the second clone to step on the left pressure plate. After that, return the original to the southern path and push through the remaining mirrors to reach the exit. For players who want to see how mirror mechanics interact with other core systems, the pedestal puzzle guide offers a deeper look at push, pull, and swap mechanics that build on similar spatial logic.
Decoding Gem and Crystal Puzzles
Gem puzzles — also referred to as crystal puzzles in community discussions — revolve around collecting or aligning colored crystals to unlock gates. The Order of the Sinking Star gem puzzle requires you to pick up a gem crystal and place it on a matching pedestal. However, the twist is that many crystals cannot be carried across certain floor tiles, or they disappear if you step on a wrong square.
From the official Order of the Sinking Star on Steam page, the description confirms that gem puzzles introduce a blocking mechanic: gems despawn when you step off a colored path, requiring precise route planning. According to player reports from the demo, gem puzzles become interleaved with mirror and beam mechanics in later worlds, creating layered challenges.
| Crystal Puzzle Type | Behavior | Difficulty |
|---|---|---|
| Monochrome Gem | Single color, one pedestal | Easy |
| Dual Gem | Two gems, two pedestals, color-locked paths | Medium |
| Crystal Chain | Gems must be dropped in a specific order to reach gate | Hard |
| Beam-Reflecting Gem | Gem acts as a prism when placed on a beam intersection | Expert |
Strategic Approach for Gem Puzzles
The order of the sinking star crystal puzzle solution often boils down to path memorization. Because gems disappear if you leave the designated route, you must walk the exact sequence without backtracking. The best practice is to first scout the entire grid without holding a gem, mapping out where the safe floor tiles lie. In the Crystal Corridor puzzle (demo zone 3), you need to carry a red gem through a zigzag path of red tiles, stepping on a pressure plate that creates a bridge to the blue gem area, then return with the blue gem while the red one remains on its pedestal. This requires at least three passes before both pedestals are fulfilled.
Advanced Gem Puzzle: The Gem Swapper
The Gem Swapper introduces a conveyor belt that rotates the grid each time a gem is placed. Here, the Order of the Sinking Star crystal puzzle solution involves predicting the grid rotation after each placement. A common solve: place the red gem on the top-left pedestal first (rotation shifts the grid 90° clockwise), then place the blue gem on the now-accessible bottom-right pedestal, which rotates the grid again, opening the exit gate. This pattern repeats with three gems in later versions.
Mastering Beam Puzzles: Light and Logic
Beam puzzles transform the grid into an optical circuit. You must direct beams of light from a source to a receiver by placing beam splitters, mirrors, and absorbers on specific tiles. The Order of the Sinking Star beam puzzle is often multistage, where the beam path must be altered multiple times as obstacles shift.
Beam Puzzle Components
| Component | Function | Placement Rule |
|---|---|---|
| Beam Emitter | Generates a straight beam | Fixed at grid edge |
| Mirror (45°) | Reflects beam 90° | Can be rotated by push |
| Beam Splitter | Splits beam into two | Fixed orientation |
| Absorber (Drain) | Stops the beam | Removable only with beam active |
| Receiver | Opens gate when beam hits | One per puzzle |
Step-by-Step Order of the Sinking Star Beam Puzzle Solution
The most reliable order of the sinking star beam puzzle solution follows this four-step method, reverse-engineered from the game's latest update to the 'Crystal Resonance' mechanic. By activating the central emitter first, then moving clockwise across the 3×3 crystal grid, you avoid early beam crossings that trigger the anti-cheat resolver in Story Mode. This sequence exploits the beam's priority hierarchy—Crystal Type A overrides Type B—ensuring each reflection lands on its designated mirror without phase-shift misfires, a common cause of failed puzzle resets in the Void Spire sector.
Step 1 – Locate the emitter and receiver. Usually they are marked by glowing symbols, often color-coded (e.g., a red beam emitter paired with a matching receiver) to indicate the required connection path. Note any barriers that block direct line of sight, such as walls, movable blocks, or mirror grids that can redirect the beam. In later puzzles, these obstacles may require rotating or sliding reflectors to align the beam with the receiver, so a thorough room scan before making adjustments prevents wasted moves and reveals the optimal reflection sequence.
Step 2 – Identify pre-placed components. The puzzle provides some mirrors and splitters already on the grid; you cannot create new ones, only reposition them using the push mechanic (similar to Sokoban block moves). According to the Wikipedia entry on Order of the Sinking Star, early puzzles work on a 2D plane while later ones are 3D, and mechanics inspired by Sokoban-style games start simple yet lead to unexpected consequences.
Step 3 – Build the initial path. Push a mirror into the beam’s path so it reflects toward the receiver. Test the beam — if it doesn’t reach, adjust the mirror’s angle. Beams are blocked by walls and certain crystal formations.
Step 4 – Iterate with splitters. If the beam needs to trigger two separate receivers, introduce a beam splitter. The splitter divides the beam into two perpendicular rays. For a compound beam puzzle solution, you may need to place the splitter early in the circuit and then direct each branch individually.
The Beams of Far Water – Example Walkthrough
In the Beams of Far Water puzzle (post-demo world), there are two emitters and three receivers with interlocked barriers. The known solution: place the first beam splitter on the second tile from the left, creating a low beam and a high beam (low beam reaches the left receiver, high beam goes over a gap). Then push a rotating mirror into the high beam path to redirect it to the middle receiver. Finally, use the second emitter to send a direct beam to the right receiver once the middle gate opens. This puzzle requires careful push planning, and the Order of the Sinking Star puzzle logic guide explains the foundational deduction methods needed to solve such multi-emitter setups without trial‑and‑error.
Combining Grid Puzzle Mechanics in Late Worlds
Once you have mastered individual mirror, gem, and beam puzzles, the game forces them together in what players call combined grid challenges. A typical late-world puzzle might feature a mirror clone that must push a crystal onto a pedestal while a beam must be redirected to unlock the path serving that same clone. The interplay requires you to sequence actions across multiple mechanics.
Overlapping Mechanics Table
| Combined Puzzle | Mechanics Involved | Complexity Score |
|---|---|---|
| Crystal Mirror | Gem + Mirror clone | 7/10 |
| Beam Golem | Beam splitter + Pressure plates | 8/10 |
| Triple Threat | Mirror + Gem + Beam | 9/10 |
| Final Resonance | All four worlds colliding | 10/10 |
Solving Combined Puzzles Efficiently
A practical strategy that veteran players recommend: decompose the puzzle into sub‑problems. Identify which part of the grid belongs to each mechanic. For example, isolate the beam path first — redirect the emitter to the receiver. Then handle the mirror clones separately. Finally, bring the gem into the equation once the other two elements are stable. Use the reset lever freely when testing hybrid approaches. Many combined puzzles also include a soft reset that only resets one mechanic type (e.g., mirror clones revert to origin but gems stay placed), which you should leverage to avoid full resets.
Resources for Further Study
For a comprehensive list of all puzzle types and their solutions in one place, check the main Order of the Sinking Star puzzle solutions hub. The hub organizes every grid puzzle by world and provides minimal spoiler nudges alongside full walkthroughs for those who prefer stress‑free progression. The official Steam community also maintains a thread where players share their own novel solutions to beam puzzles, which is worth visiting if you enjoy seeing creative approaches.
Frequently Asked Questions
How many grid puzzles are there in the full game?
The total number of grid puzzles in Order of the Sinking Star is over 250, spread across four primary worlds. Mirror, gem, and beam puzzles account for roughly 60% of that count, with the remaining combining multiple mechanics. The demo alone includes 105 puzzles covering all three grid types.
What is the hardest mirror puzzle in the game?
The hardest mirror puzzle is the final one in Mirror Isles, requiring you to position three clones simultaneously across a 3D grid while reflecting a beam to the target. Any misstep resets the entire sequence, forcing you to plan all clone moves in advance.
Can I skip beam puzzles if I get stuck?
Beam puzzles are optional in the sense that you only need to complete a subset of puzzles per world to unlock the next area. The game encourages skipping and returning later. However, for completionists aiming to solve all puzzles, every beam puzzle must be tackled eventually. Use the in‑world warp points to revisit skipped sections later.
Is there a difference between crystal puzzles and gem puzzles?
No, these terms are used interchangeably by the community. Both refer to puzzles where you collect and deposit colored crystals on matching pedestals, often with movement restrictions. The crystal puzzle solution emphasizes path planning, while gem puzzles typically add color‑locked floors and pressure plate chains. The official game files label them all as gem pedestal puzzles.
Do beam puzzles require prior knowledge of optics?
No. Beam puzzles require no prior optics knowledge. The Factory District tutorial teaches straight beams first, then mirrors for 90° reflection, then splitters for splitting beams. All logic is tile-based and learned through play, without needing external guides or optics theory.