
Worlds
The four worlds of Order of the Sinking Star explained: Mirror Isles swapping, Sokoban-style heroes, beam caves and the non-linear Overworld that connects them all.
Introduction
Order of the Sinking Star spreads its thousand-plus puzzles across four distinct rule-worlds stitched into one explorable Overworld. Each world adapts a celebrated indie puzzle design — Mirror Isles reworks Alan Hazelden's reflection-swapping, the Heroes world channels Jonah Ostroff's Sokoban series, the beam caves descend from Sean Barrett's Promesst, and Skipping Stones inspires a fourth zone — and director Jonathan Blow has publicly credited every source. The Overworld itself is the fifth space: a non-linear hub where puzzles sit in almost any order, locked doors tease future regions, and walking away from difficulty is always allowed. This section documents each world's complete rule set, the geography that connects them, and the exploration order questions every player asks. Because worlds begin intersecting as you progress, understanding each system in isolation first is the single best preparation for what the game calls its true endgame.
World Rules Quick Reference
| World | Core Rule | Signature Object | Inspiration |
|---|---|---|---|
| Mirror Isles | Swap places with reflections via mirror positioning | Mirrors & water channels | Alan Hazelden designs |
| Heroes of Sokoban | Class-specific push/pull/swap object verbs | Crates, class tokens | Heroes of Sokoban 1-3 |
| Beam Caves (Promesst-style) | Pedestal-fed beams alter terrain and move boulders | Crystals, pedestals, colored beams | Promesst 1-3 |
| Gem / Stone Zone | Crystal stacking under displacement limits | Gems, stepping stones | Skipping Stones to Lonely Homes |
World Profiles
Mirror Isles
Reflection-swapping sanctums over open water
Beam Caves
Promesst-descended caverns powered by colored light
Gem Zone
Crystal stacking arithmetic under displacement budgets
The Overworld Hub
The rule-free connective tissue binding four worlds
Core Mechanics
Each world operates as a closed rule system with its own physics vocabulary. Mirror Isles treats reflections as reachable positions: repositioning a mirror redraws the graph of where your body can exist, making level geometry something you edit rather than merely traverse. The Heroes world assigns movement verbs to classes — push-only warriors, pull-capable thieves, swap-wizards — so solving means assembling the right party for a room's demands. The beam caves introduce persistent light state: crystals power pedestals, pedestals project colored beams, and each color obeys different interaction rules (passing walls, carrying boulders, demolishing rock). The gem zone layers counting onto spatial play, demanding exact displacement budgets. The Overworld ties everything together with zero rules of its own beyond walkability — deliberately, so exploration stays friction-free.
Advantages
The multi-world structure gives players unusual strategic freedom. Because zones do not gate each other mechanically, you can rotate worlds whenever difficulty stalls, converting frustration into progress elsewhere — community veterans describe finishing stuck rooms hours later on pure momentum from adjacent zones. The rule isolation also creates cleaner learning curves: mastering one verb set before touching the next keeps cognitive load manageable despite the game's enormous scope. Exploration itself rewards attention; the Overworld hides optional rooms behind visual tells rather than quest markers, and players who read its geography report finding secret caches the completionist route misses. Finally, knowing all four rule systems cold is the explicit entry fee for the collision endgame — breadth here is literally the path to the game's best content.
Challenges
Freedom has costs worth planning around. With no recommended order, new players sometimes wander into late-difficulty rooms early and bounce hard — the difficulty curve is per-zone smooth but cross-zone wildly uneven. Navigation memory becomes a real tax: the Overworld is large, fast travel is limited, and remembering which locked door sat next to which solved room is genuine mental overhead some players resent. The gem zone specifically carries a reported progress-loss risk after crashes, making manual saves prudent there. And because several worlds share surface aesthetics — caves, water, ruins — telling zones apart at a glance takes longer than expected, occasionally sending explorers back toward areas they meant to leave.
Frequently Asked Questions
Which world should I explore first?+
Can I return to earlier worlds later?+
What are the locked doors in the Overworld?+
How big is each world?+
Quick Tips
Learn one world completely before sampling a second one seriously. The collision endgame interleaves rule systems at high speed, and brains trained on isolated verbs handle that interleave far better than brains that learned everything simultaneously. Depth-first ordering feels slower in week one and dramatically faster by month one — trust the compound interest of focused mastery.
Navigate the Overworld by landmarks rather than memorized routes. Locked doors, odd statues and distinctive shoreline shapes persist across sessions while route memory fades within days. Image memory outlasts sequence memory for almost everyone, and building a mental picture of the hub pays off every single time you need to find that one unsolved door again.
In beam caves, count every crystal before moving any of them. Pedestal starvation mid-room is this zone's signature trap, generating most resets players report, and doing thirty seconds of inventory math upfront prevents the specific failure where your last crystal sits unreachable behind a beam you can no longer power or redirect.
If a world stops being fun, treat that feeling as useful information rather than personal failure. Rotate zones immediately — the design explicitly rewards breadth, the frustrating room will still exist tomorrow, and returning later with mechanics from elsewhere regularly converts walls into trivial solves. Enjoyment is data about readiness, not a discipline problem.
Featured
Order of the Sinking Star Four Worlds: Mirror Isles & More
Explore the Order of the Sinking Star four worlds, including Mirror Isles, with this detailed walkthrough and puzzle solutions for each world.
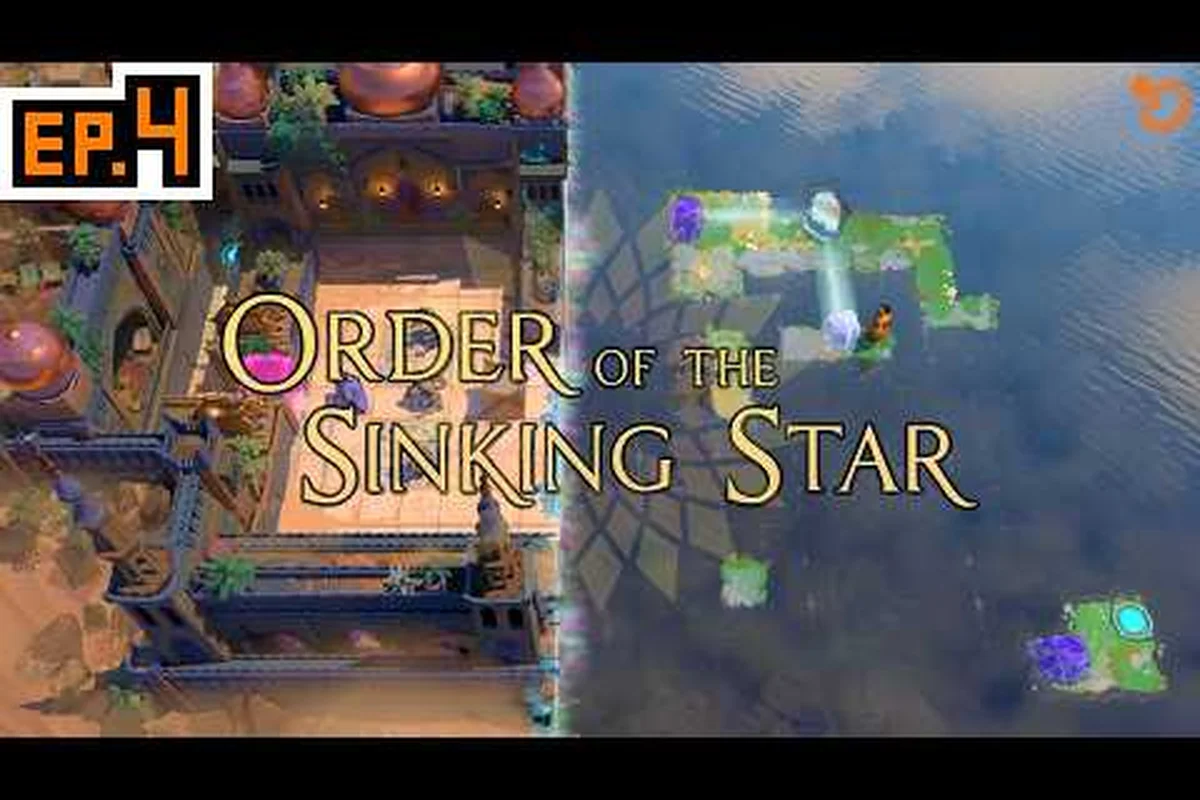
Order of the Sinking Star Heroes of Sokoban World Explained
Explore the Order of the Sinking Star Heroes of Sokoban World, where every block push reveals new paths, hidden secrets, and clever solutions.
Order of the Sinking Star Dangerous Contraptions: Hazards
Discover the Order of the Sinking Star dangerous contraptions to survive monsters. Learn how to avoid hazards and uncover hidden areas and world secrets.
All Articles
Order of the Sinking Star Each World Rules Explained
Learn the order of the sinking star each world rules, including world themes, characters, and how to revisit the locked doors in the overworld.
Order of the Sinking Star Overworld Guide: World Order
The order of the sinking star overworld guide reveals the best world order, non-linear exploration, and open world puzzle mechanics, including unlock order.
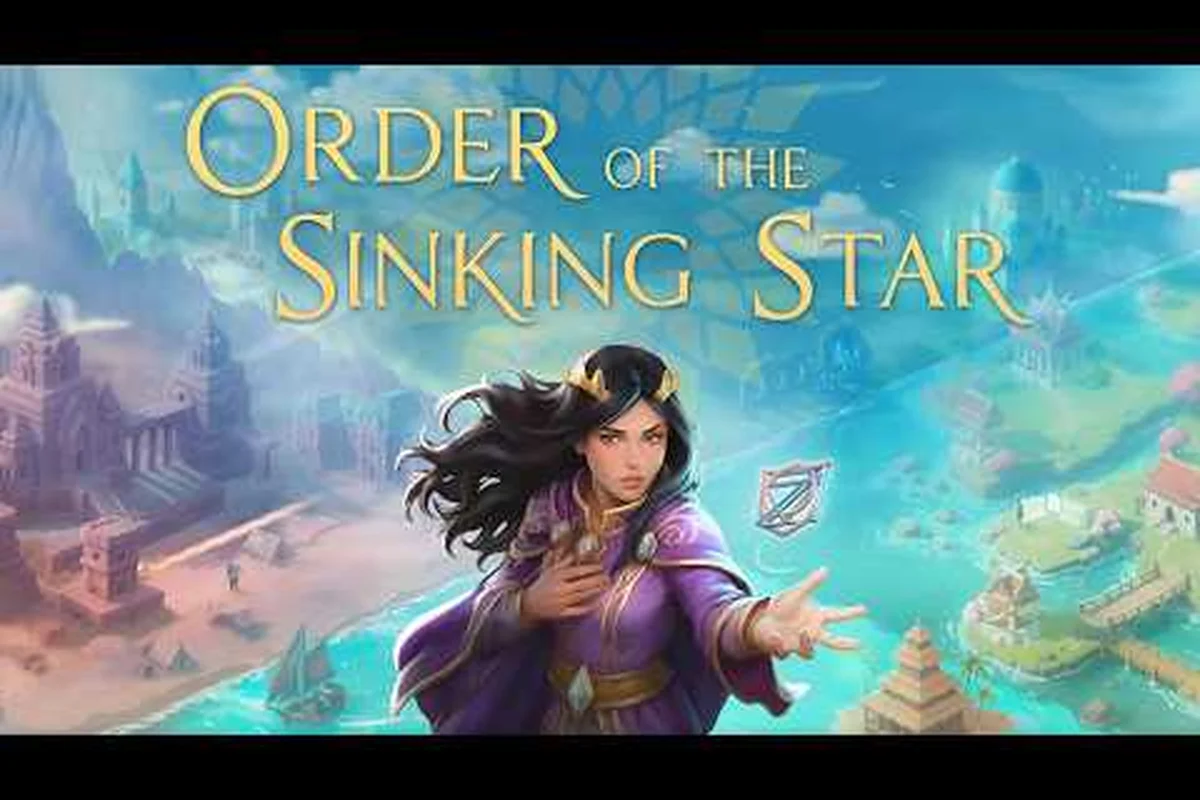
Order of the Sinking Star World Intersection Points: 4 Zones
Discover the Order of the Sinking Star world intersection points and how the four zones meet. Unlock the magic realm's secrets at each location.
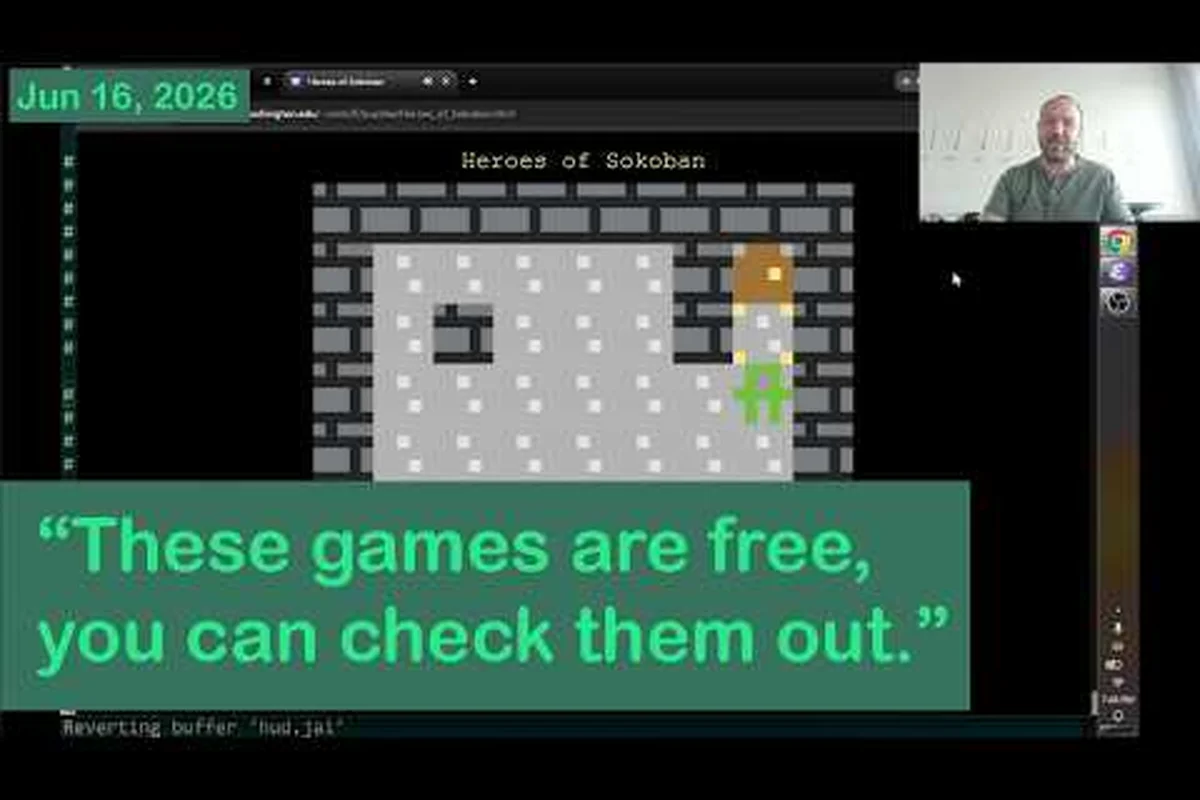
Order of the Sinking Star Inspired by Games: Alan Hazelden
Explore how Order of the Sinking Star is inspired by Alan Hazelden, Patrick’s Parabox, Miegakure, and Enigmash. See how puzzle classics shape its worlds.